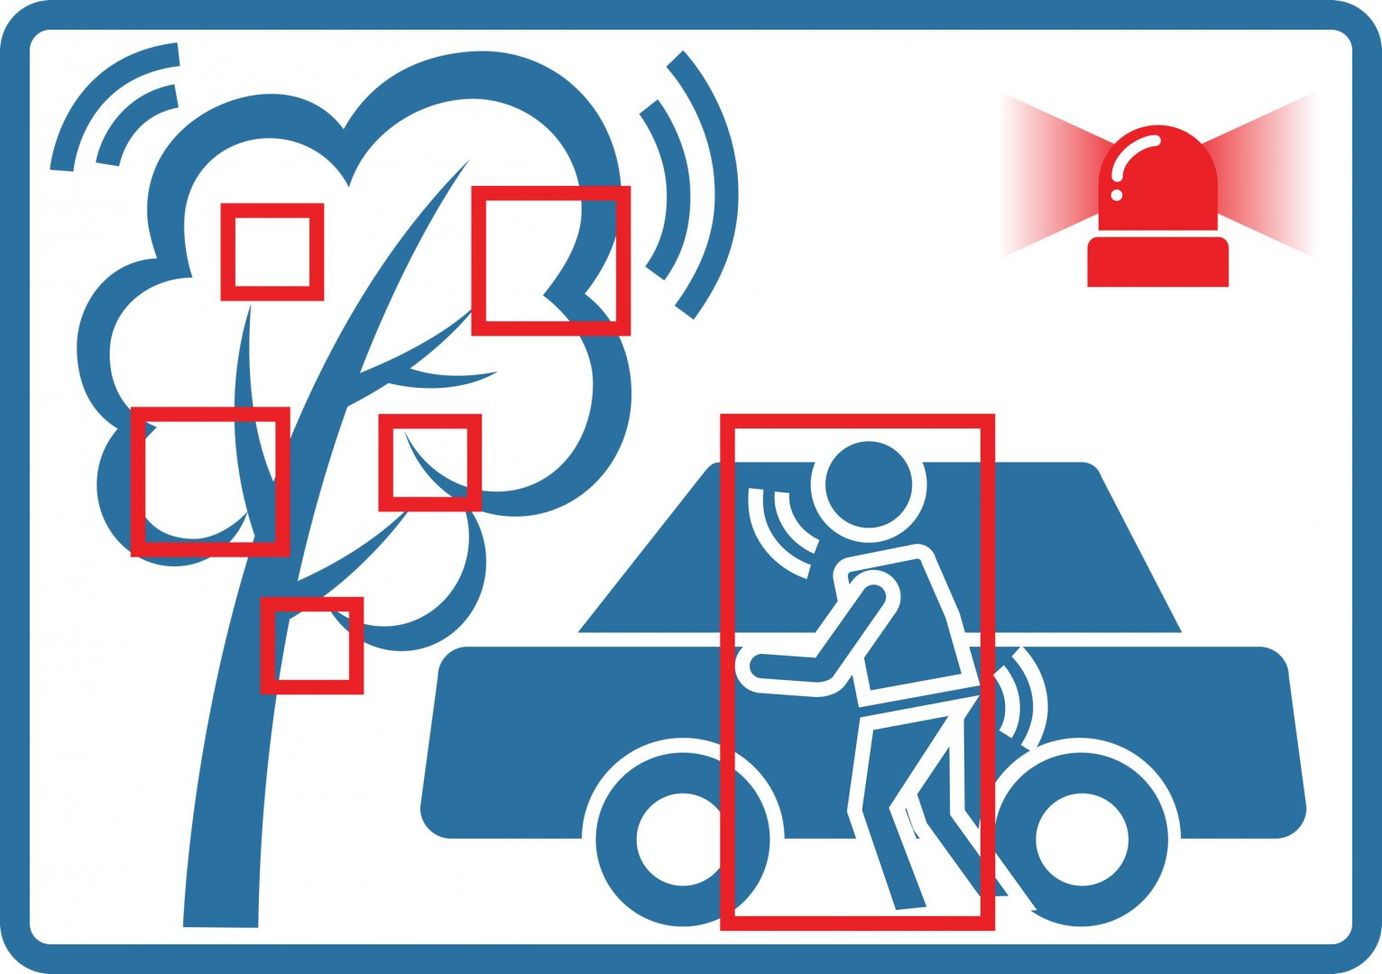
How to detect motion on an Android device

This article explains how the simple motion detection mechanism works.
Strategy
Dead simple. I store a frame and compare it to the next, if the differences in the two frames are above a certain threshold then motion is detected. Common image detection techniques are far more complicated than what I'm using here and image processing operations (like erode, dilate and some other form of noise reduction) are normally applied to frames in order to reduce digital noise.
Since I wanted to focus on learning Android more than some new image processing techniques, I kept the image operations to the absolute minimum.
Acquiring data
First, we need to acquire the raw image data from the camera. To do it, we implement theCamera.PreviewCallback and override the onPreviewFrame method. This method is called every time a new frame is ready.
Here's the code:
@Override
public void onPreviewFrame(byte[] data, Camera camera) {
    if (mMotionDetection.detect(data)) {
        // The delay is necessary to avoid taking a picture while in the
        // middle of taking another. This problem can causes some phones
        // to reboot.
        // I set PICTURE_DELAY to 3000 ms, your degree may vary.
        // mReferenceTime is simply 0 at the beginning.
        long now = System.currentTimeMillis();
    if (now > mReferenceTime + PICTURE_DELAY) {
            mReferenceTime = now + PICTURE_DELAY;
        camera.takePicture(null, null, this);
    } else {
        Log.i(TAG, "Not taking picture because not enough time has "
        + "passed since the creation of the Surface");
    }
    }
}
data is a byte array containing the raw data coming from the camera hardware. Its format may change depending on the device and if the hardware supports multiple formats you can change it using:
Camera.Parameters parameters = mCamera.getParameters();
parameters.setPreviewFormat(...);
mCamera.setParameters(parameters);
In this post I'll assume the image format is PixelFormat.YCbCr_420_SP (now deprecated and to be replaced withImageFormat.NV21.
Detecting movement
The advantage of using ImageFormat.NV21 is that being a YUV based, not RGB based, format, the firstheight * width bytes contains the luminance data. You can think of the luminance data as a grayscale version of your image.
We can perform the motion detection on the luminance data only, it will be much faster than comparing two RGB images.
public boolean detect(byte[] data) {
    // Create the "background" picture, the one that will be used
    // to check the next frame against.
    if(mBackground == null) {
        mBackground = AndroidImageFactory.createImage(data,
            mSize.value, mPixelFormat.value);
    Log.i(TAG, "Creating background image");
    return false;
    }

    boolean motionDetected = false;

    mAndroidImage=AndroidImageFactory.createImage(data,
        mSize.value, mPixelFormat.value);

    motionDetected = mAndroidImage.isDifferent(mBackground,
        mPixelThreshold.value, mThreshold.value);

    // Replace the current image with the background.
    // This is an oversimplification, you would normally blend the two
    // images to create a new one.
    mBackground = mAndroidImage;

    return motionDetected;
}
AndroidImageFactory is a simple factory class I've created that create a specific class depending on the image format. An extract:
public static AndroidImage createImage(byte[] data, Size<Integer,
    Integer> size, int format) {

    AndroidImage im = null;

    String imgType = "";

    switch (format) {
        case IMAGE_FORMAT_NV21:
        im = new AndroidImage_NV21(data,size);
        imgType = "NV_21";
        break;

    ...
AndroidImage and AndroidImage_NV21 are also classes I've created and that are part of my commonslibrary. I'm not releasing yet the source code for these classes but you don't need it anyway.
Comparing the images by luminance values
This is the bulk of the article, here the isDifferent method in my AndroidImage_NV21 class.
@Override
public boolean isDifferent(AndroidImage other, int pixel_threshold,
    int threshold) {

        if(!assertImage(other))
            return false;

    byte[] otherData = other.get();
    int totDifferentPixels = 0;

    int size= mHeight * mWidth;
    for (int i = 0, ij=0; i < mHeight; i++) {
        for (int j = 0; j < mWidth; j++,ij++) {
            int pix = (0xff & ((int) mData[ij])) - 16;
        int otherPix = (0xff & ((int) otherData[ij])) - 16;

        if (pix < 0) pix = 0;
        if (pix > 255) pix = 255;
        if (otherPix < 0) otherPix = 0;
        if (otherPix > 255) otherPix = 255;

        if(Math.abs(pix - otherPix) >= pixel_threshold)
            totDifferentPixels++;
        }
    }

    if(totDifferentPixels == 0) totDifferentPixels = 1;
    Log.d(TAG, "Number of different pixels: " + totDifferentPixels + "> "
            + (100 / ( size / totDifferentPixels) ) + "%");

    return totDifferentPixels > threshold;
}
I use two different thresholds. The first acts on the pixel values and could be defined as:
reference_pixel - threshold < new_pixel < reference_pixel + threshold
So the new_pixel must be bigger than the reference_pixel minus the threshold but smaller thannew_pixel plus threshold.
If the pixel is different I increment totDifferentPixels. At the end I check how many different pixels I have, if the value is greater than the second threshold, then the image is different.
As a reference, I use 25 as value for pixel value threshold (~10% difference) and 3% (9216 for a 640x480 image) as total pixel threshold.
Ref: http://www.intransitione.com/blog/how-to-detect-motion-on-an-android-dev...
-
PREV[node:title]
-
NEXTblink ImageView

Language
Get in touch with us
"If you would thoroughly know anything, teach it to other."
- Tryon Edwards -

